Before last week, I’d
never made an Empire/Regency dress. Imagine that. I love the period, but for
some reason I felt intimidated by them, which is funny, as I’ve made lots of
far more advanced and complicated things. Mind, I have made a shortgown, which
is basically the same thing, only, well, shorter. But I’m rambling.
Picture by Pernilla Leijonhufvud
Recently I was invited
to attend a small event at a local museum, and though I could have whipped up a
petticoat to use with said shortgown, I really wanted a dress. I had a cotton
fabric with an almost handwoven look to it that I wanted to use. That would
work well, as I wanted to portray the housekeeper of the middle class house we
were to be in. The stripes reminded me of the ones in ordinary Swedish women's extant dresses from the period. They were quite often made from linen/wool, but cotton is also represented.
Just
two problems: the fabric only measured 150x210 cm, and I only had one week in
which to make the dress. That’s one week where cutting, fitting and sewing had
to be completed around all the things stay at home parents of little children
do.
I used the pattern I
drafted for the shortgown as a starting point, but changed it into a drop
front. And then it was the cutting. I only had two rather short skirt lengths
of fabric, and both bodice and sleeves had to come from the two pieces on
either side of the shaped front skirt panel. As it is cold this time of year, I
wanted long sleeves, or things would have been much easier. This is indeed a
little sister of The Insanely Pieced Dress I made a few years ago:
The bodice back is
made from two pieces, picture of that further down. The bodice fronts are
made from 4 pieces each:
The bodice “bib” is
made from three pieces:
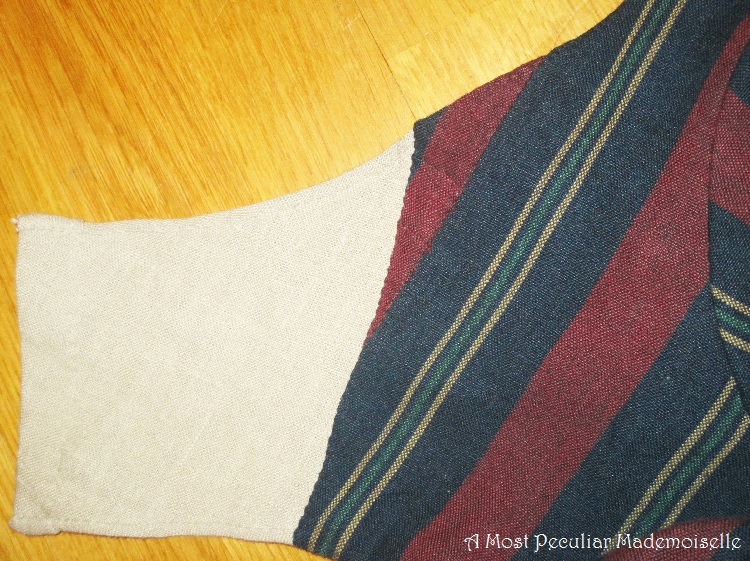
The sleeves are made
from 4 and 6 pieces respectively, not counting the bias strips at the wrists:
In the end these are all the scraps that were left:
Naturally I hand sewed
the dress, using waxed linen thread (unbleached where it wouldn’t show, and
brown for the rest) and period stitches. I lined the bodice and sleeves of the
dress with unbleached linen. I might not have lined the sleeves had not all
that piecing in them needed some protection from wear.
I did my best to make
the direction of the stripes follow the bodice as seen in extant dresses, and am rather happy with how it came out.
The bib is pinned in place with reproduction brass pins. I put a pleat near each end
of the bib to make it shape itself around the bust nicely. I still haven’t
decided if I’ll stitch them down to make darts or leave them as they are.
The sleeves are
pleated at the back of the shoulders, and are full enough at the wrists to pull
on without any closures. A tuck at the elbow (seen above in the picture of the piecing) provide a little extra room for
movement. The bias strips are decorative, but their primary function is adding well
needed length. The sleeves are still slightly too short, but they will do.
The skirt is smooth in front, and the ties on the front
part of the skirt runs through stitched bars by the back seams, and then ties
in front, under the skirt.
The skirt is cartridge pleated in the back. A small pad prevents the
skirt falling in at the small of my back, and also supports the ties of the
skirt front and any apron that might be worn. I added tapes to the inside of
the bodice back to tie in the front, as I didn’t think the bodice lining did a
good enough job to keep the bodice back tight to the body. The fine white
cotton ties are too fine for this kind of dress – it was still a rather fancy
material here in Sweden – but it’s what I had at hand. At least they won’t
show.
I faced the skirt hem
with a cotton/linen tape I wove a couple of years ago – facings are brilliant
when you don’t really have any skirt length to sacrifice on hems, and it’s a period
way to finish them. The tape too is pieced – it was initially used as 18th
century style ties in a hobbit skirt, and are in four pieces.
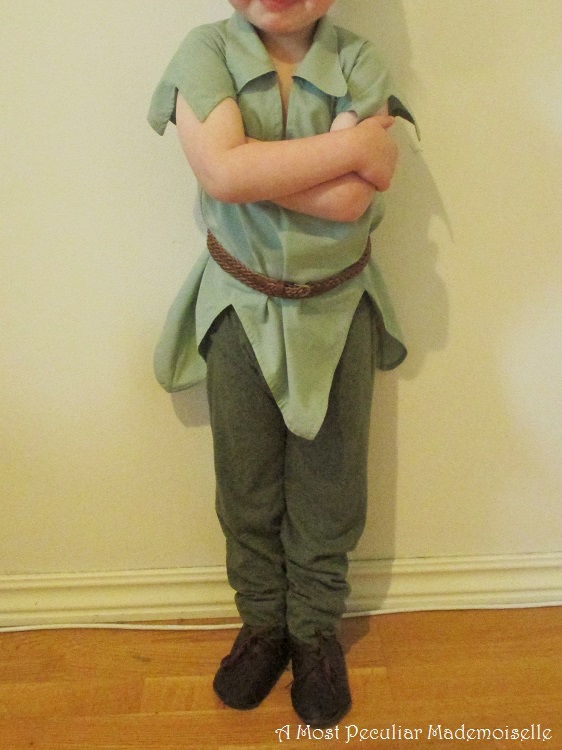
In the end I managed
to get the dress wearable in time for the event, if not completely finished,
hence the mitts in some of the pictures - the sleeves were not yet hemmed. Now
however, it’s all done!
Picture by Pernilla Leijonhufvud
I really like how it
came out, and enjoy wearing it. Now I'm really keen to make more Empire dresses. The pictures with the mitts are from the event at the museum, the ones without were taken today, when the weather finally allowed me to document the finished dress.
I haven’t had time to
participate in the HSM for a while, but this dress fit the last challenge of
the year.
The Challenge: # Re-Do
What Challange/s are you re-doing?:
# 2 Blue (the dress has a lot of blue in it), # 3 Stashbusting (everything came
from my stash), # 5 Practicality (it is very much a dress to work in), #6 Out
of Your Comfort Zone (first time making a dress of this period), # 10 Sewing
Secrets (lots of almost invisible piecing).
Fabric: Rather heavy weight, plain
weave cotton and linen.
Pattern: My own.
Year: 1810’s.
Notions: Two kinds of linen thread,
three kinds of cotton or cotton/linen tape, cotton batting.
How historically accurate is it?
Pretty much. Materials, pattern and sewing is rather good.
Hours to complete: Difficult to say…
estimated somewhere between 25-30 – the piecing took quite a bit of time to get
nice.
First worn: For a small museum event
last Saturday.
Total cost: Nothing at this time, as
everything came from my stash. The main fabric and the brown linen sewing
thread were originally a gift, the linen fabric was left over from a previous
project, and two of the tapes were recycled from other clothes.